As an Amazon Associate we earn from qualifying purchases.
Swimming is a fantastic sport to boost your health, maintain your weight, and anyone can participate! It doesn’t matter if you are a gym buff or haven’t run in your life; swimming is one of the only sports that is accessible to all.
The reason for its accessibility is due to buoyancy. The water holds your weight, making it easier to move!
Although the sport is easier to learn than some, you may still find yourself scratching your head at where to start. Today, we will guide you through the basics and explain some fun techniques, so you can feel confident in the water.
Table of Contents
Getting Started
Getting into swimming shouldn’t be daunting, but joining a new social group can be overwhelming. Depending on the type of social interaction you prefer, we have 4 different suggestions to help you pick a place to start.
Remember that each of these areas will have its own rules, coaches, regulars, and skill expectations. Ideally, none of them will turn away beginners; however, every space is different.
Before we explain the difference between them all, we suggest searching your local area for what is available. Once you gather this list, narrow down the spaces to see which buildings allow new swimmers or can teach new swimmers.
Although most places will happily accept anyone, if you notice that every picture on the website shows a powerful swimmer, and no “regular joes”, it might not be the best place to start.
Gyms
If you are already a member of a gym, then you should look and see if they have a pool connected. This connection could be in the same building, or it could be a partnership with a local swimming pool facility.
Partnerships should be displayed in the gym itself or online, but sometimes the advertisement isn’t great. It could be worth asking your gym if they have any discounts or deals with nearby areas.
If you are not already part of a gym, seeing a gym with a pool attached could be enough to sway you. You can often find deals that make both experiences cheaper for you. However, you should figure out if the pool is indoors or outdoors first.
Very few gyms have indoor and outdoor pools. Ideally, you should opt for an indoor one; that way, you can swim in all weather conditions. You should also be sure that the pool is, in fact, a full-length swimming pool.
Gyms often have saunas, hot tubs, or small relaxation pools to help people wind down after a workout. If the gym only offers these facilities, then you shouldn’t pick it as your swimming pool.
Schools
Some schools have public access days or areas where you can swim in their pool as a public citizen. If there is a school near you that offers this to you, then there are a couple of things you should consider before signing up.
The first thing is if it’s your kid’s school. You might think that going for a dip before picking up your children is a good idea, and it might be. But first, you should scope out the area to see if you can look into the school grounds first.
You don’t want to snoop on your children as they are playing with their friends, nor do you want your kids monitoring you. If there is no access to the school from the pool, then all is clear.
Secondly, you should see when the pool is open to the public. You can expect the kids to have their own lessons during their schooling hours, so the pool might not be available during the day.
This will restrict the times and days in which you can use the pool. Their website or reception desk should be able to give you these times. If there is no clashing with your personal life, then take a dive into a school pool.
Public Pools
Public pools can often get a bad reputation for being unhygienic. This is because anyone can come to the pool, which brings a large number of people to its waters. As there are so many people going in and out of the water, the chlorine will be used up quickly. Or that’s what the theory says.
In reality, public pools, just live private ones, have to keep to a strict cleaning schedule. They are also limited to the number of swimmers allowed at any time.
If you are still worried, you should figure out when the quietest times are and schedule your swims during this time.
When it’s quiet, you can expect the chlorine levels to correctly match water to create a clean environment. You should also have space to swim a full length without someone getting in your way.
If you really want to be on top of the hygiene, you can ask the area when they add chlorine to the pool and schedule your visits as close to that time as possible.
Normally, it would be at the beginning and end of the day, with a top-up in the middle. But depending on the volume of people, your local pool might have different timings.
Rec Centers
If you are hoping to join a swimming class, then a recreational center would be a great place to start. Just like gyms, there should be an instructor you can book with and a class you can join.
Although one-on-one learning is often the best way to pick up the skill quickly, group classes are cheaper and more commonplace.
Unlike a gym, if you join a class with a rec center, the skill level might be more beginner-friendly. You can expect multiple beginners classes available in areas like this which means you could make a whole day of it – joining a lot of different courses for active fun.
7 Tips To Start Learning To Swim As An Adults

Learning isn’t something only children can do; you can start your swimming lessons at any age!
It may feel strange getting into the water and allowing buoyancy to hold you, but eventually, you will get used to this new sense of gravity and will learn to control your position in the water.
To help you get to that point of confidence, we have created 7 easy tips to get you going, including how to start, what to buy, and ways to make you feel comfortable.
1. Start In The Shallow End
Pools often have a shallow end and a deep end. Depending on the pool you use, the difference might be dramatic or nonconsequential. Either way, find the area with less water and begin your journey there.
We wouldn’t recommend swimming in the sea when you are learning. This is because the moving waves and pulling currents will make your experience more confusing.
There is a lot to consider when swimming in the ocean, so instead, stick to a pool which has fewer variables.
When you enter the shallow end, you should have more than enough room to touch the bottom of the pool. Slowly walk into the deeper end, allowing the water to climb up your body. Continue walking as long as you are comfortable.
Hopefully, at this point, your middle is underwater, at least. Then practice holding your breath and putting your face under the water.
Because your feet are still firmly on the ground, you should feel confident enough to come up for air whenever you want.
Continue doing this for as long as you feel comfortable.
2. Purchase Goggles
Swimming in a pool means swimming with chlorine. Chlorine is a chemical that kills bacteria and microorganisms lurking in stagnant water. It allows us to swim without worrying about our health.
There is a common misconception that chlorine can sting your eyes, especially if too much has been applied. However, the real reason for red and itchy eyes is a little gross.
People often pee in the pool, expecting the chlorine to deal with the waste, but in reality, that is more than the chemicals can handle. If your eyes are itchy, it’s because the chlorine couldn’t cope with the amount of urine in the water.
To protect your eyes and your health, you should wear goggles. Goggles are protective equipment that goes over your eyes, allowing you to see clearly in the water and protecting them against chlorine and urine.
Being able to see underwater may help you feel more in control of your surroundings. You can predict where the floor, air, and walls are with more accuracy, removing any feelings of claustrophobia.
3. Spend Plenty Of Time In The Water
When you’re first learning to swim, the important thing is to be comfortable. Spending more time doing a new activity is an easy way to gain trust in your own skills and to feel confident in how you deal with the situation. The same goes for swimming.
The more time you spend in the water, the easier you will find it to walk through the resistance and hold your weight through the water’s buoyancy.
If you can only get to calf height in the water, then you may find it hard to put your head underwater. To get to that stage, you may want to try going further and further into the pool, stretching your level of comfort.
We recommend going into the water once a week to allow your body to recover physically and your mind to digest the new activity. You could even give yourself new goals with each dip as you try to get deeper and deeper into the water.
4. Get Comfortable Having Your Face In Water
The hardest part of this experience will probably be keeping your head underwater. Your instinct will be to fling your head up as you know there is no oxygen in the water.
Anxiety might bubble up, causing you pain. This in itself might make the experience difficult for you.
However, most swimming techniques need you to put your head underwater. Understanding that you are in control of your body and your ability to hold your breath is the first step to getting past this mental block.
We have a few activities that can help you get comfortable putting your head underwater.
Bob Your Head In The Shallow End
First, we suggest sitting in the shallow end (or standing if you cannot sit while keeping your head above water) and allowing your head to sink into the water.
This could mean slowing lying down and coming back up again (essentially splashing your face) or bending your knees and standing up.
You should be getting gentle contact with the water at a quick pace. The speedy reactions should help you feel in control as the water goes over you.
Holding Your Breath Above Water
It may help you hold your breath above water to build confidence. You could time yourself to see how many seconds you can hold your breath for, so you have a countable time underwater.
Move While You Hold Your Breath Underwater
It might be helpful to move your arms around as a distraction when you hold your breath. For some, the instinct to reach for air is too strong, even though they know they can hold their breath for longer. Moving your arms around or dancing underwater can help distract you from this urge.
5. Don’t Worry About Technique
We have mentioned technique a couple of times, but when you are getting into swimming, the important thing is to feel comfortable with the water.
For example, holding your breath is important to stop you from panicking. The water will splash on you often, so focusing on being comfortable outweighs technique, in the beginning.
There is a common style of swimming for beginners, called Doggy Paddle. Doggy Paddle is when you move your arms and kick your legs without form or speed.
Normally an instructor will give you a floating device to help you feel comfortable as you try to move your body.
Ideally, you should have a floating device around your arms and shoulder to keep your head above water and then kick with your legs to get you going.
This method can teach you how you balance yourself while lying on top of the water. It can also teach you how to move quickly.
As you grow more confident, you can take one arm off the floating device and push through the water – speeding your movements again.
Eventually, you can remove the final arm, giving you movement to complete a Front Crawl. We will explain more about the Front Crawl later, but here we want to help you move in the water without worrying about technique. Instead, practice with the floating device to get comfortable.
6. Consider Using Fins
Fins can be helpful to get you kicking your legs correctly, but some people find them more of a drag. We will explain what is good and what is distracting about them, so you can decide if adding them to your practices is helpful.
When you kick your legs, you might find it hard to keep them straight. Adding fins to your feet can help you stay streamlined, as they make your movements slower.
Although there is less speed in your kick, you can expect a stronger push as the added resistance gives you more power. With these fins, you should move faster and cleaner through the water.
However, if you are struggling to get your head underwater, you might find it frightening to add more drag to your feet.
Fins give you more resistance, making it feel like you are walking through sludge instead of clean water. Adding this dynamic to your early swimming day could make you feel trapped.
We would recommend fins, but only you feel confident underwater. If you are still struggling, this extra element might be frustrating.
7. Start Swimming Lesson
Ideally, if you really want to get into swimming, you should enroll in swimming lessons. With a guide by your side, you’ll have someone watching you to make sure you’re okay. They can help you with your technique and understand how you learn best.
Yes, you can learn to swim without an instructor, but you will only get half of the information you need.
Although we want you to take in our advice (especially later when we show you how to do specific moves), you will learn them faster and more accurately if you have someone with you.
Although most swimming classes are aimed at children, there will be adult classes too.
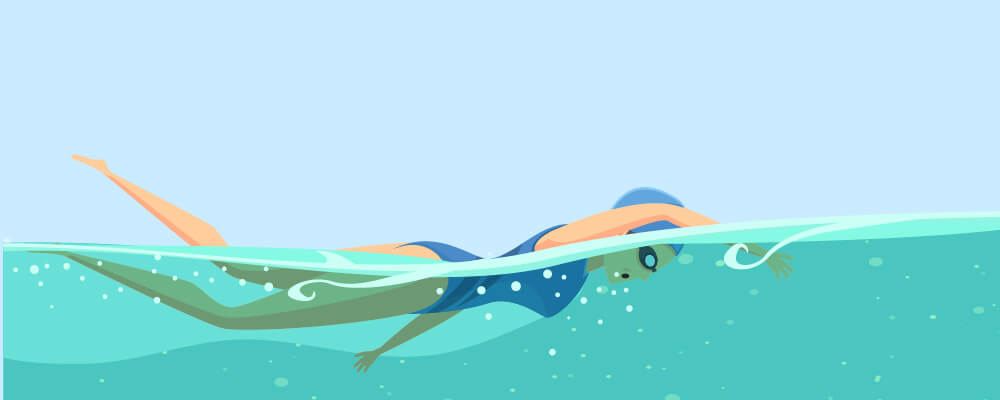
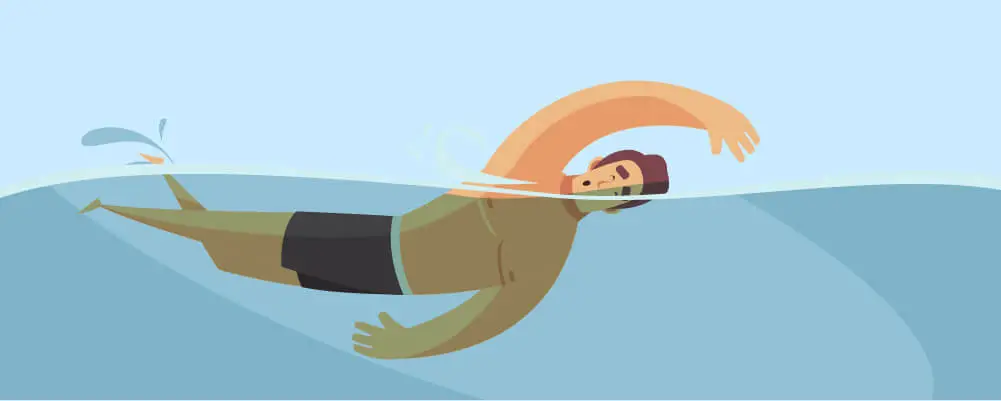
Learning How To Do The Front Crawl
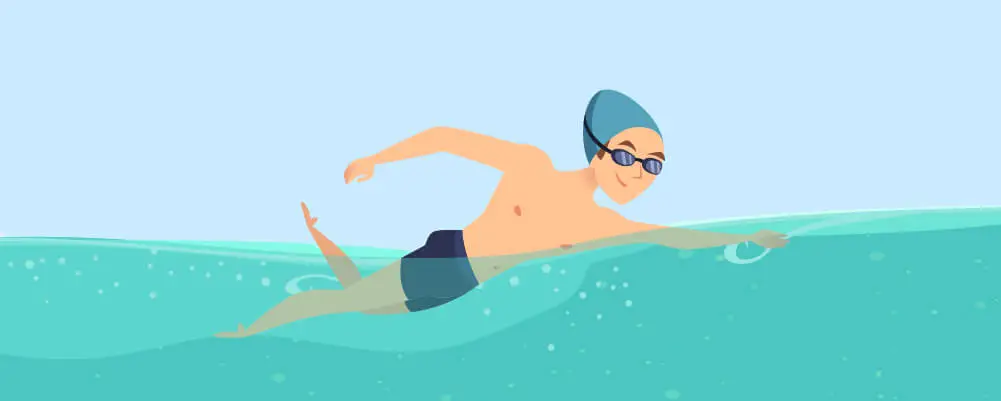
Front Crawl is one of the easiest techniques to master. If you want to learn a real technique, try this one first.
As we mentioned before, you can use a flotation device to help you in the beginning. Our step-by-step process will walk you through the whole movement.
Step 1
Start by floating in the water with your head down. Your body should be straight and lay horizontally along the water edge.
Your hand should be straight ahead of you, with your hands overlapping slightly. Your legs should be straight behind you.
The important part of this step is to keep your body straight and to stay horizontal.
Step 2
Move one foot up and the other down, only bending your knees slightly. Alternate the movement to create a quick, almost fluttering, kick.
Step 3
Lift one arm up and out of the water, with the palm of your hand facing outwards. In a circular motion, move this arm in line with your shoulder over your head.
Turn your palm to face the water and allow it to seamlessly reconnect with the water.
Step 4
Allow your second hard to repeat step 3. As it does so, the first hand should continue its circular motion. This pushes the water underneath you, allowing you to move forward.
Step 5
To breathe, you should rotate your hips every couple of strokes. If your left hand is in the air, rotate your hips left, and turn your head right. This will allow you to find air mid-stroke.
Learning How To Do The Breaststroke
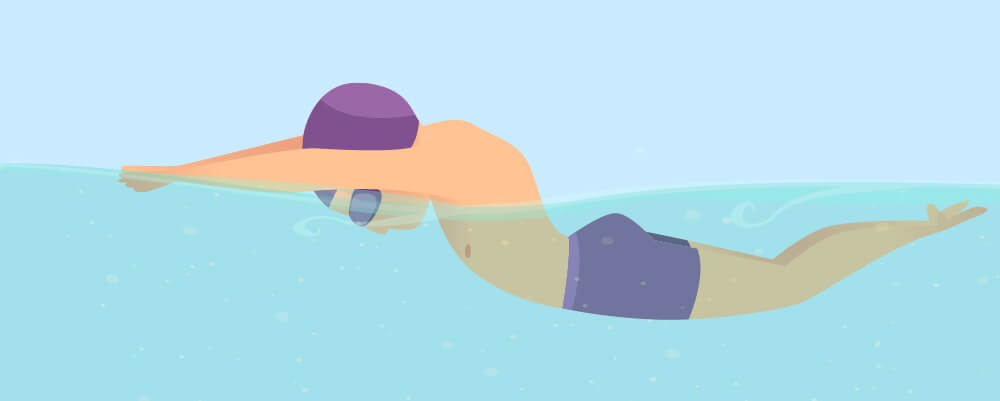
The Breaststroke gets its name through the motion of your upper chest muscles. The power in your breast is what allows your arms to glide through the water. Sometimes the Breastroke is known as the “Frog Stroke” due to the kicking motion.
In short, you can expect your arms to pull through the water, lifting your head up as you do so. This gives you time to breathe. You then kick your legs in a frog-like manner and then glide through the water.
That is the short version, but now for a step-by-step explanation.
Step 1
Start by floating in the water with your head down. Your body should be straight and lay horizontally along the water edge. Your hand should be straight ahead of you, with your hands overlapping slightly. Your legs should be straight behind you.
The important part of this step is to keep your body straight and to stay horizontal.
Step 2
Keeping your elbows high, you should pull your hands back in a circular motion. As you do this, tuck your thumbs down as if you are cupping the water. This will push your body up, allowing you to get air.
Continuing in the circular motion, bring your arms back to their original position.
Step 3
As your hand reaches its starting position, you should bend your knees. Ideally, this should be done simultaneously.
When you bend your knees, you should bring your feet towards your butt – like a frog. Your toes should be pointing outwards – like a ballerina. Again, do this is a circulation motion.
Step 4
Put your head back underwater and kick your feet back into their original position – this will propel you forward.
Step 5
Allow your body to glide through the water, and when you begin to slow, start the process again.
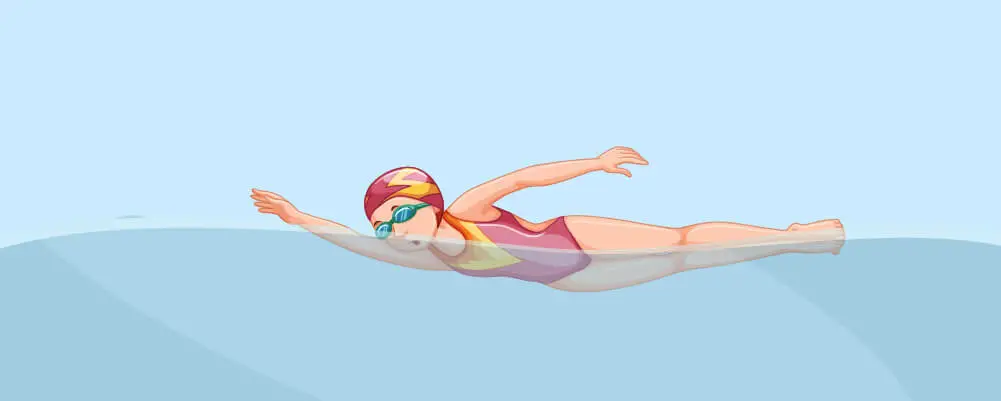
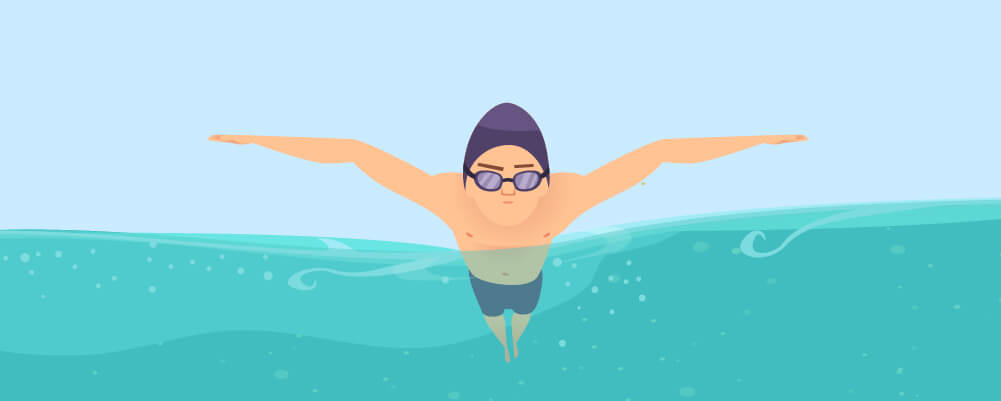
Learning How To Do The Butterfly

The Butterfly is one of the most challenging moves to master. The timing of each movement can be tricky by itself, but understanding how to move your body is where most people falter.
Before you attempt the complete Butterfly, we suggest practicing the wave element of the stroke. We will explain it in step 2. You should practice this until you feel confident and then move on to the complete motion.
Step 1
Start by floating in the water with your head down. Your body should be straight and lay horizontally along the water edge. Your hand should be straight ahead of you, with your hands overlapping slightly. Your legs should be straight behind you.
The important part of this step is to keep your body straight and to stay horizontal.
Step 2 (The Wave)
Now you want to create a wave with your body. To do this, you should push your head downwards, then extend it forwards. In a fluid movement, push your hips up and allow your legs to follow.
Next, you need to move your head back up, but this time push your hips down. Keep doing this to create a continuous wave.
Step 3
When you push your head down, you should send your arms down too. Sink them back your hips as they rise, and then kick your legs.
Your legs should be tightly together, like a mermaid tail.
Step 4 (The Butterfly)
As your head starts to come back up again, your arms should have made a circular rotation. The rotation helps bring your head back up to the surface so that you can breathe.
The rotation will feel like wings.
Step 5
Repeat the wave and butterfly motion in unison.
Tops Tips To Improve Your Swimming
There are always ways to improve your swimming. It doesn’t matter if you are just starting out or you are a professional.
Our tips are aimed at those in the beginner stages of their abilities. But anyone could take our suggestion and begin improving.
Have A Swim Coach
We have already talked about signing up for swimming lessons, but getting your own swimming coach is taking this concept one step further.
With a coach, you can get one-to-one advice on how to improve your techniques, and they can explain any questions you have in detail.
Do Swimming Drills
With or without a teacher, if you spend a lot of time working on one specific technique, you will be able to master it quickly. Give yourself a goal to complete x-amount of lengths with one stroke in mind.
Soon you will fall into a pattern of ease, and your body will feel more comfortable moving in this way.
The more drills you do, the faster and more powerful your movements will become.
Focus On Breathing Properly
One thing that stops a lot of beginners in their stride is their need to stop and breathe.
If you are holding your breath underwater, hoping to make it to the end of your length, then you are missing out on the opportunity to breathe mid-stroke.
No matter the technique, each stroke should have an opening for you to breathe. It might be helpful to find a video of someone completing the stroke to see when they are breathing.
Once you figure it out, practice coming up for air in the same pattern.
During this practicing session, don’t worry about your speed. Instead, you need to focus on your breathing. Once you get smoother with your breaths, you will be able to crank up your speed too.
Take And Watch Videos
The best way to know how you are doing and what you need to improve on is to record yourself swimming and watching the video back.
Your coach can tell you time and time again that your legs are not straight, but until you see for yourself, you won’t understand what you should do.
Secondly, watching other people (either online or in real life) complete the moves you are aiming for can help you understand how you should be holding your body.
You may notice that they are going for a breath more or less often than you. Simple differences like that can be all you need to hone in your skills.
Combine watching yourself and watching professionals can help you make parallels between the two movements. It can help you pinpoint where you are going wrong and how you should be coordinating your body.
Practice Often
As the old saying goes – practice makes perfect. This is true whether you are trying to get the arch of the Butterfly right or if you just want to hold your breath underwater.
The more you go over your technique, the better your swimming skills will be.
You might find it helpful to go back over some of the basics every now and then too. It can be encouraging to see how you have improved.
Going over the basics, such as holding your breath or completing a Front Crawl, can help realign your technique and keep you swimming in the right direction.
Summary
Swimming is one of the most beneficial sports you take up. Because it holds your body for you, there is less weight on your muscles, making it easier to move your body and enjoy the experience too.
The hardest part of swimming is often letting go of your control over gravity. Allowing the buoyancy to hold your weight can be a surreal experience if you haven’t been exposed to it when you are young.
Because of this, we suggested only staying in the shallow end of the pool while you get used to the feeling.
The shallow end is a beginner’s best friend, as you can stand up when you need to gain control of your breathing and stability.
Being comfortable is the most essential part of swimming, as is confidence. If you don’t feel comfortable in the water, you will lose faith in your ability to hold your breath.
This is why we suggested gently lowering yourself into the water while in the shallow end. Taking time to be comfortable underwater will give you all the confidence you need, to know you are safe.
Once you are comfortable and confident, you have the basic skill to start learning techniques like Front Crawl, Breaststroke, and even the Butterfly!
Amazon and the Amazon logo are trademarks of Amazon.com, Inc, or its affiliates.